> For the complete documentation index, see [llms.txt](https://docs.responso.com/responso-doc/llms.txt). Markdown versions of documentation pages are available by appending `.md` to page URLs; this page is available as [Markdown](https://docs.responso.com/responso-doc/en/working-with-inbox/message-statuses.md).
# Message statuses
Statuses indicate the state of the discussion that you use during customer service. You can create statuses tailored to your requirements.
**We have the statuses like:**
* Open – these are current affairs that you or your teammates need to deal with.
* Pending – The case where additional input or input is required from the client. We are waiting for a response from the client.
* In Pending – the case where it cannot be terminated at the moment. For example, we need to consult with someone from another department.
* Solved – These are cases that have been completed. When we are sure that the client has received all the answers.
* Closed – completed cases. For example, when we do not want anything from the client, e.g. some opinion, etc.
* Spam – This is spam.
But that is not all, in the Responso system you also have the option of creating your statuses.
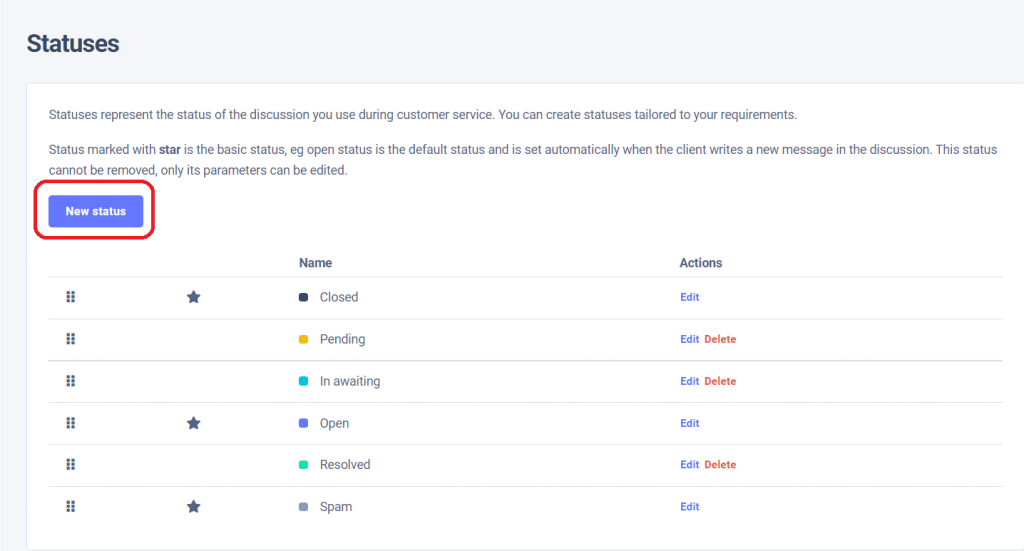
If you want to do this, go to the Settings -> Statuses tab.
To add a new status, click Add Status.
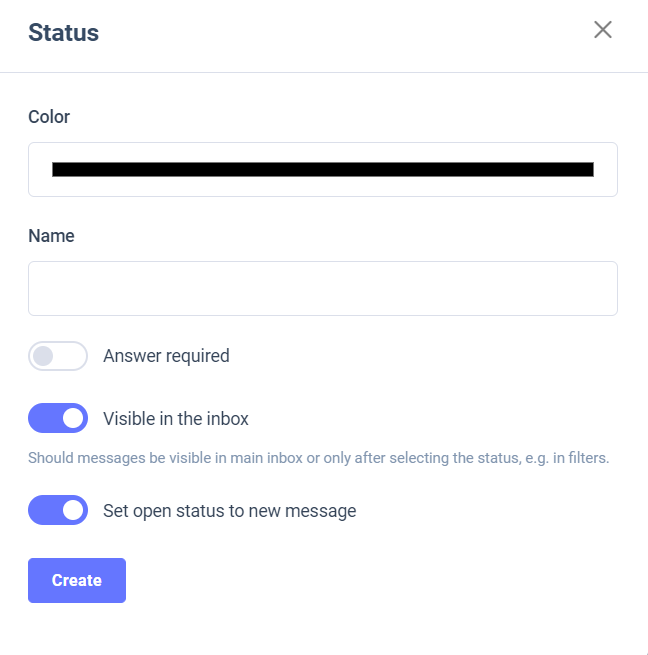
**In adding a new status, we have several options:**
* Color – the ability to change the color that is visible in the main message window.
* Name – any status name.
* Requires response – a status that requires an agent to respond.
* Visible in an inbox – Should messages be visible in the main inbox, or only after selecting the status, e.g. in filters.
* Set open status to a new message – when a new message arrives from the client, the status will automatically change to Open.
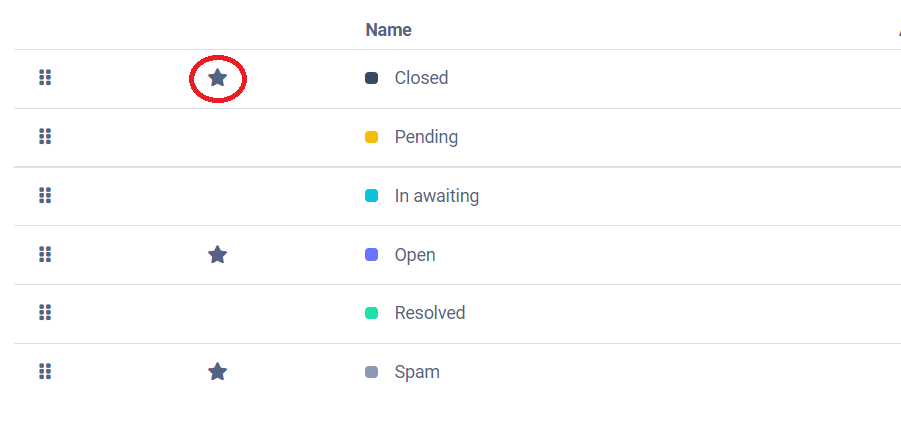
Several status lists are marked with an asterisk.
The status marked with an **asterisk** is the basic status, eg open is the default status and is set automatically when the client writes a new message in the discussion. This status cannot be deleted, only these parameters can be edited.
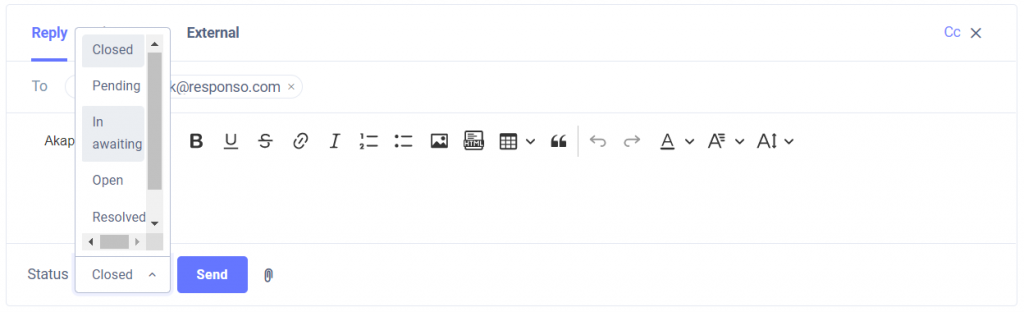
The configuration of the statuses also allows you to change their order. This allows us to change the standard status when sending the message accordingly.
To change the order of the status, you must follow the steps in the attached video:
{% embed url="" %}